Before Your Dog Comes Home After Amputation: Set Up the First Week
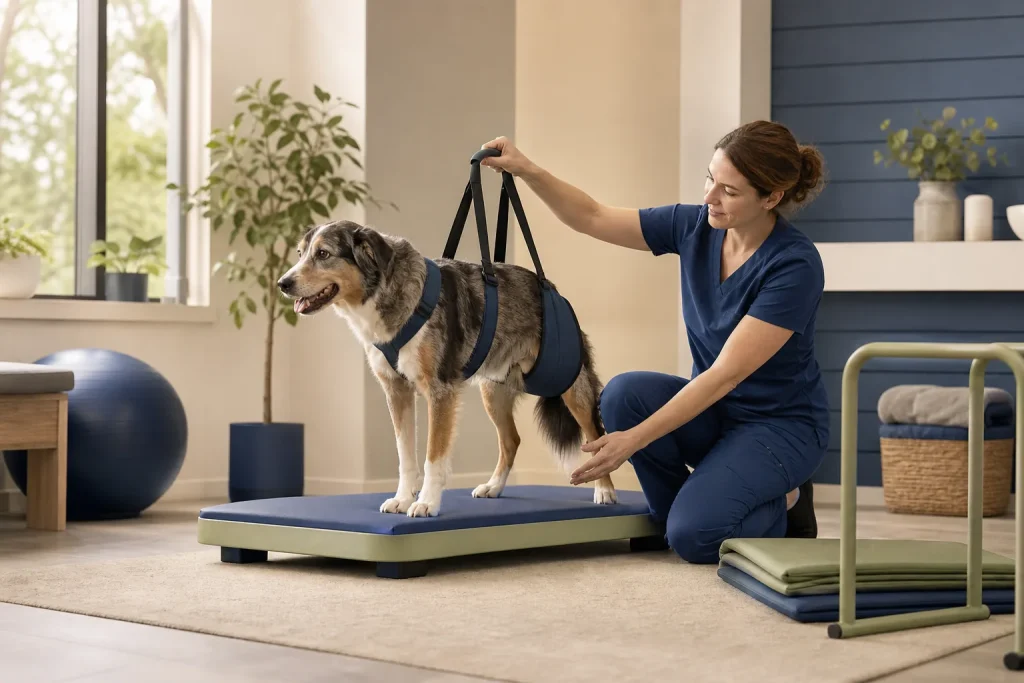
Dogs often adapt to limb amputation, but the first days are not a test of how quickly they can walk. Anesthesia recovery, pain, balance change, swelling, incision healing, and fatigue all matter. Preparing the environment before pickup prevents rushed lifting and slippery-floor accidents.
Why this deserves a plan
A dog may lean, pivot differently, tire quickly, or misjudge stairs. The remaining limbs and spine also take new loads. The surgical team’s restrictions outrank generic exercise advice, and a rehabilitation professional can help when technique, body size, neurologic disease, arthritis, or caregiver strength complicates mobility.
Prepare before the stressful moment
Create one nonslip, quiet recovery zone near an exit with no required stairs. Block furniture jumping. Fit only the harness or sling approved by the team and practice with staff. Arrange two-person help for a large dog, vehicle loading, and toileting. Keep bedding dry and easy to change.
What to observe and record
Record pain behavior, medication times, appetite, water, urination, stool, sleep, ability to rise, safe walking distance, incision appearance, swelling, and any fall. Use a photo at consistent intervals without manipulating the incision. Schedule the recheck and ask when rehabilitation assessment and activity progression are permitted.
When to call or escalate
Collapse, breathing difficulty, uncontrolled pain, major bleeding, wound opening, rapidly increasing swelling, repeated vomiting, inability to urinate, or sudden loss of remaining-limb function needs prompt assessment. A wet, tight, slipping, or chewed bandage also requires clinic advice.
What not to improvise
Do not encourage stairs, running, jumping, swimming, or long walks to prove adaptation. Do not massage the surgical area, apply heat, change a bandage, or add human pain medicine. Never lift by the neck, remaining limb, or incision; use the technique the team demonstrated.
Rehearse the route from bed to outdoors
Walk the recovery path before the dog arrives. Check every turn for sliding, remove narrow obstacles, secure rugs, and decide where a helper can stand without crowding the dog. The toileting surface should be reachable without stairs or a jump, and the resting area should allow the dog to turn without striking the incision. A large dog may need a planned transfer team rather than one person improvising during urgency.
During the first outings, watch the remaining paws and limbs as closely as the surgical site. Record slipping, knuckling, reluctance to turn, unusual loading, or a new rub from the approved support equipment. Share those changes at recheck so mobility assistance can be adjusted. Progress is not measured by distance alone; a calm transfer, controlled toileting trip, and comfortable return to rest are meaningful early outcomes. Note which doorway, surface, or transfer caused difficulty, because the environment may be the modifiable part.
Take these questions to the care team
- What are the exact activity restrictions?
- Which harness or sling is approved?
- How should we lift and toilet safely?
- What incision change is urgent?
- When can rehabilitation begin?
Medical disclaimer: This article is educational and cannot diagnose, treat, or determine prognosis for an individual dog. It does not replace an examination or an individualized plan from a licensed veterinarian.
Sources and further reading
- American College of Veterinary Surgeons: Limb Amputation
- American College of Veterinary Surgeons: Postoperative Care
- AAHA: 2022 Pain Management Guidelines
- American Association of Rehabilitation Veterinarians: Model Standards
