Skip to content
  • Going Home With a Feeding Tube: The Handoff Checklist That Prevents Guessing

    Going Home With a Feeding Tube: The Handoff Checklist That Prevents Guessing

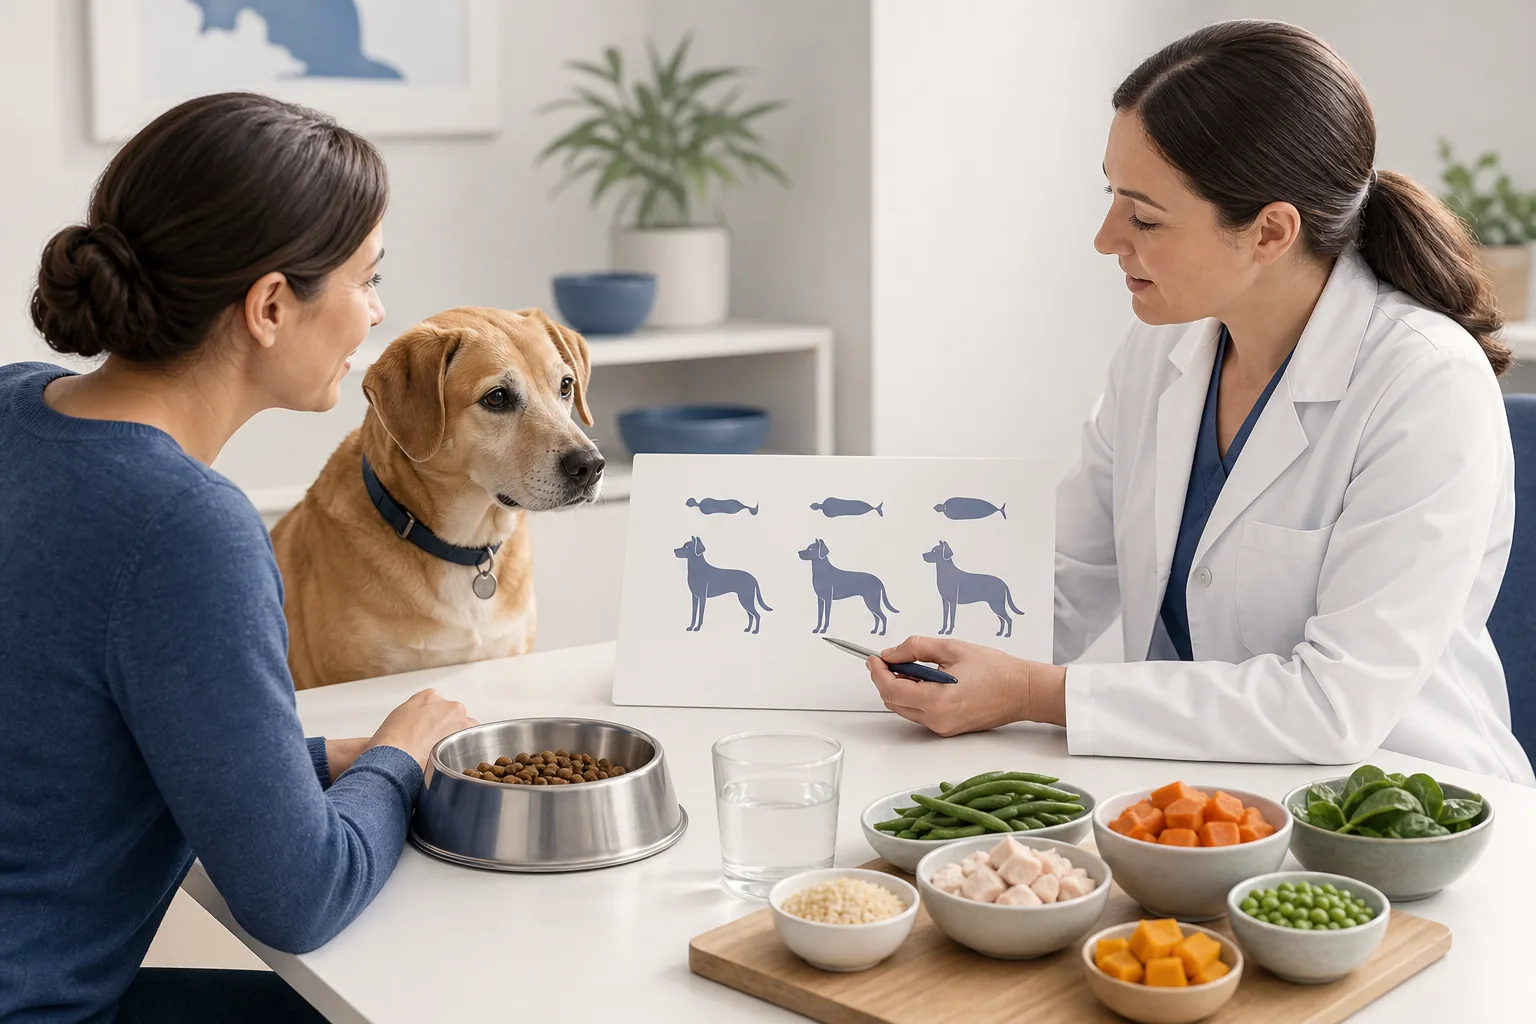
    A feeding tube can make home support more predictable, but only when the caregiver has practiced the exact routine and knows when to stop. A verbal demonstration during a stressful pickup is not enough. Request written steps and perform a return demonstration before leaving.

    Why this deserves a plan

    Tube routes have different placement, feeding, and complication profiles. Coughing, resistance, leakage, swelling, pain, vomiting, and displacement can have different meanings. The clinic must confirm which tube is present and how position, site, diet, water, and medicines are managed for this dog.

    Prepare before the stressful moment

    Set up a clean, well-lit workspace away from children and other animals. Gather only clinic-approved syringes, connectors, food, water, dressings, protective collar, and medication tools. Label enteral supplies clearly and keep them separate from any vascular or injection equipment to prevent a catastrophic connection error.

    What to observe and record

    Write down diet product, preparation, storage time, amount and schedule, delivery speed, water instructions, flush steps, medication sequence, site cleaning, bandage changes, and expected stool. Before each use, check the external tube length or marker exactly as taught, the site, the dog’s breathing, comfort, and alertness.

    When to call or escalate

    Stop and call for coughing, breathing change, repeated vomiting, marked discomfort, inability to flush, new leakage, swelling, discharge, bleeding, tube damage, or a changed external position. A fully displaced tube, severe distress, collapse, or rapidly worsening signs requires urgent veterinary assessment.

    What not to improvise

    Do not force a blockage, cut the tube, push it back, replace it, or use an unapproved unclogging product. Do not crush a medicine unless the prescriber and tube team approve it; extended-release, hazardous, or incompatible products can create serious risk. Never improvise a formula.

    Create a route map for food, water, and medicines

    Ask the tube team to place every prescribed item into one of three categories: given through the tube, given by another route, or not compatible with the current setup. The written map should include the order of approved items, any separation the clinic requires, and what to do when a scheduled item cannot be delivered. This prevents a familiar tablet or liquid from being added to the tube simply because it appears easy to administer.

    Keep a baseline photograph of the external marker and skin site as demonstrated at discharge, then compare without rotating, advancing, or pulling the tube. Log each feed, flush, medicine, and site check together with the dog’s comfort and breathing. If resistance, leakage, coughing, a changed marker, or a missed delivery occurs, stop at the point directed by the clinic and call; do not “catch up” by combining later feeds or medicines. Keep the after-hours number on that same page.

    Take these questions to the care team

    • What exact tube is present?
    • Can I demonstrate every step before discharge?
    • Which medicines can use the tube?
    • How do I recognize displacement?
    • Who can help after hours?

    Medical disclaimer: This article is educational and cannot diagnose, treat, or determine prognosis for an individual dog. It does not replace an examination or an individualized plan from a licensed veterinarian.
    Sources and further reading

  • Before Your Dog Comes Home After Amputation: Set Up the First Week

    Before Your Dog Comes Home After Amputation: Set Up the First Week

    Dogs often adapt to limb amputation, but the first days are not a test of how quickly they can walk. Anesthesia recovery, pain, balance change, swelling, incision healing, and fatigue all matter. Preparing the environment before pickup prevents rushed lifting and slippery-floor accidents.

    Why this deserves a plan

    A dog may lean, pivot differently, tire quickly, or misjudge stairs. The remaining limbs and spine also take new loads. The surgical team’s restrictions outrank generic exercise advice, and a rehabilitation professional can help when technique, body size, neurologic disease, arthritis, or caregiver strength complicates mobility.

    Prepare before the stressful moment

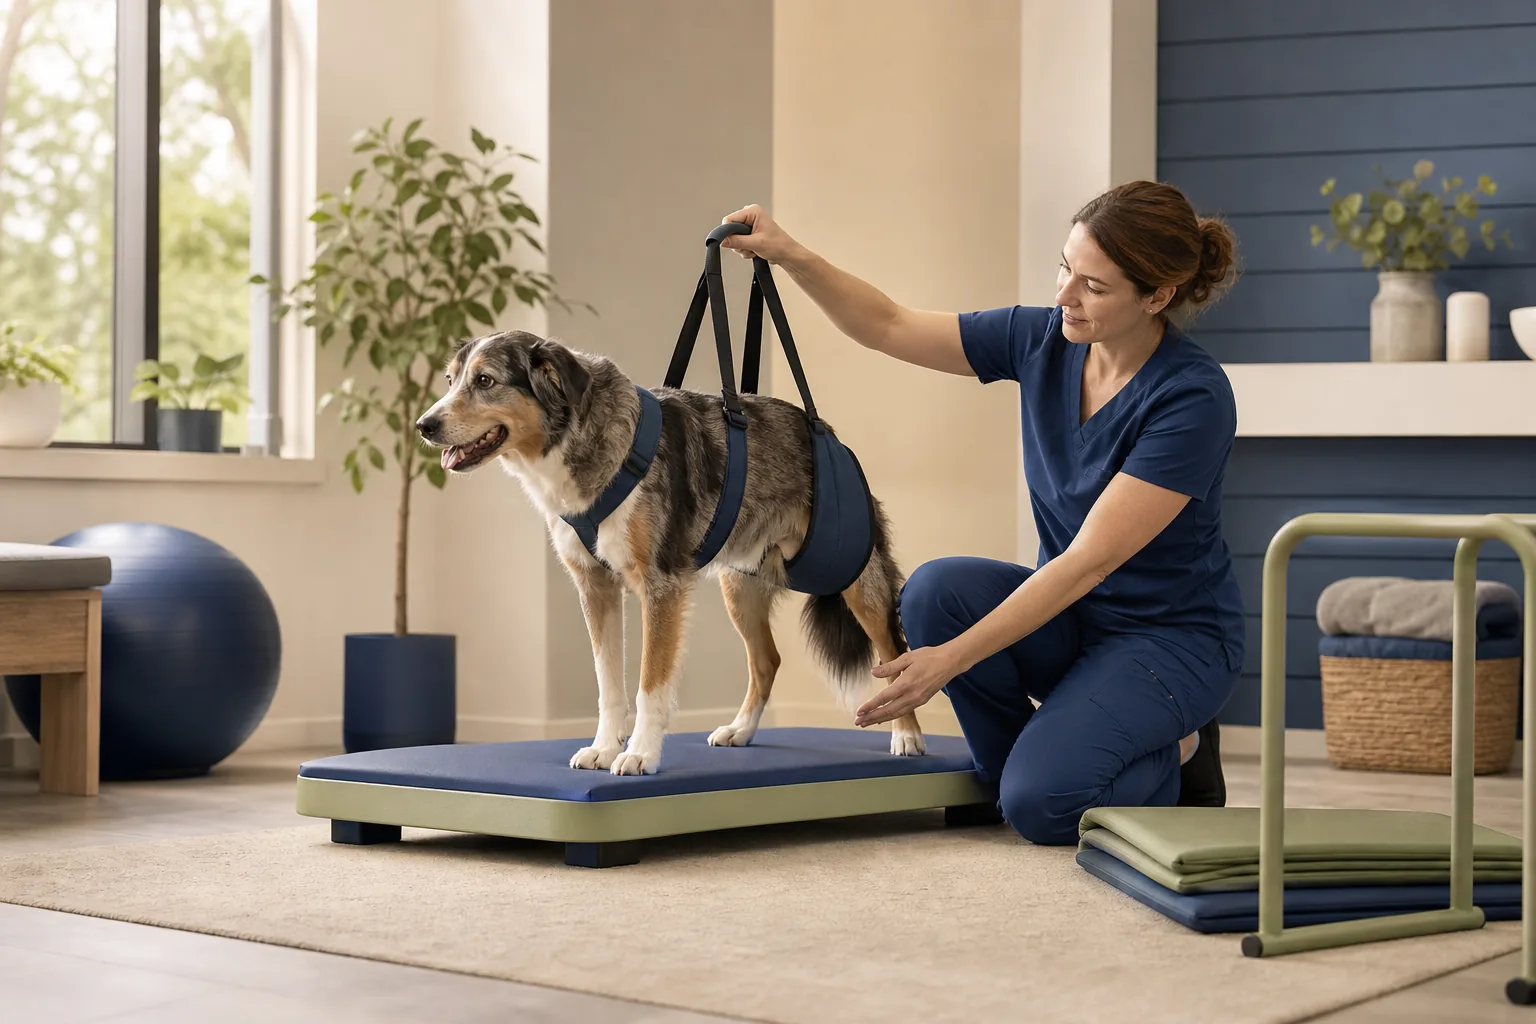
    Create one nonslip, quiet recovery zone near an exit with no required stairs. Block furniture jumping. Fit only the harness or sling approved by the team and practice with staff. Arrange two-person help for a large dog, vehicle loading, and toileting. Keep bedding dry and easy to change.

    What to observe and record

    Record pain behavior, medication times, appetite, water, urination, stool, sleep, ability to rise, safe walking distance, incision appearance, swelling, and any fall. Use a photo at consistent intervals without manipulating the incision. Schedule the recheck and ask when rehabilitation assessment and activity progression are permitted.

    When to call or escalate

    Collapse, breathing difficulty, uncontrolled pain, major bleeding, wound opening, rapidly increasing swelling, repeated vomiting, inability to urinate, or sudden loss of remaining-limb function needs prompt assessment. A wet, tight, slipping, or chewed bandage also requires clinic advice.

    What not to improvise

    Do not encourage stairs, running, jumping, swimming, or long walks to prove adaptation. Do not massage the surgical area, apply heat, change a bandage, or add human pain medicine. Never lift by the neck, remaining limb, or incision; use the technique the team demonstrated.

    Rehearse the route from bed to outdoors

    Walk the recovery path before the dog arrives. Check every turn for sliding, remove narrow obstacles, secure rugs, and decide where a helper can stand without crowding the dog. The toileting surface should be reachable without stairs or a jump, and the resting area should allow the dog to turn without striking the incision. A large dog may need a planned transfer team rather than one person improvising during urgency.

    During the first outings, watch the remaining paws and limbs as closely as the surgical site. Record slipping, knuckling, reluctance to turn, unusual loading, or a new rub from the approved support equipment. Share those changes at recheck so mobility assistance can be adjusted. Progress is not measured by distance alone; a calm transfer, controlled toileting trip, and comfortable return to rest are meaningful early outcomes. Note which doorway, surface, or transfer caused difficulty, because the environment may be the modifiable part.

    Take these questions to the care team

    • What are the exact activity restrictions?
    • Which harness or sling is approved?
    • How should we lift and toilet safely?
    • What incision change is urgent?
    • When can rehabilitation begin?

    Medical disclaimer: This article is educational and cannot diagnose, treat, or determine prognosis for an individual dog. It does not replace an examination or an individualized plan from a licensed veterinarian.
    Sources and further reading

  • Cancer-Related Fatigue: Use Activity Pacing Instead of “Push Through”

    Cancer-Related Fatigue: Use Activity Pacing Instead of “Push Through”

    A dog in cancer care may have one active morning followed by a day of exhaustion. Families can mistake this for laziness or assume more exercise will rebuild stamina. Fatigue is a symptom with many possible causes, and safe pacing begins after the veterinary team assesses what may be limiting energy.

    Why this deserves a plan

    Pain, anemia, infection, poor intake, dehydration, sleep disruption, heart or lung disease, medication effects, deconditioning, and tumor burden can look similar at home. A consistent function log helps separate a predictable treatment pattern from a new decline that needs examination.

    Prepare before the stressful moment

    Choose two or three activities the dog values, such as toileting independently, a brief sniff walk, eating in a preferred place, or greeting family. Ask which activities are medically cleared and whether bone, wound, blood-count, breathing, or neurologic risks impose restrictions. Add traction and easy resting places.

    What to observe and record

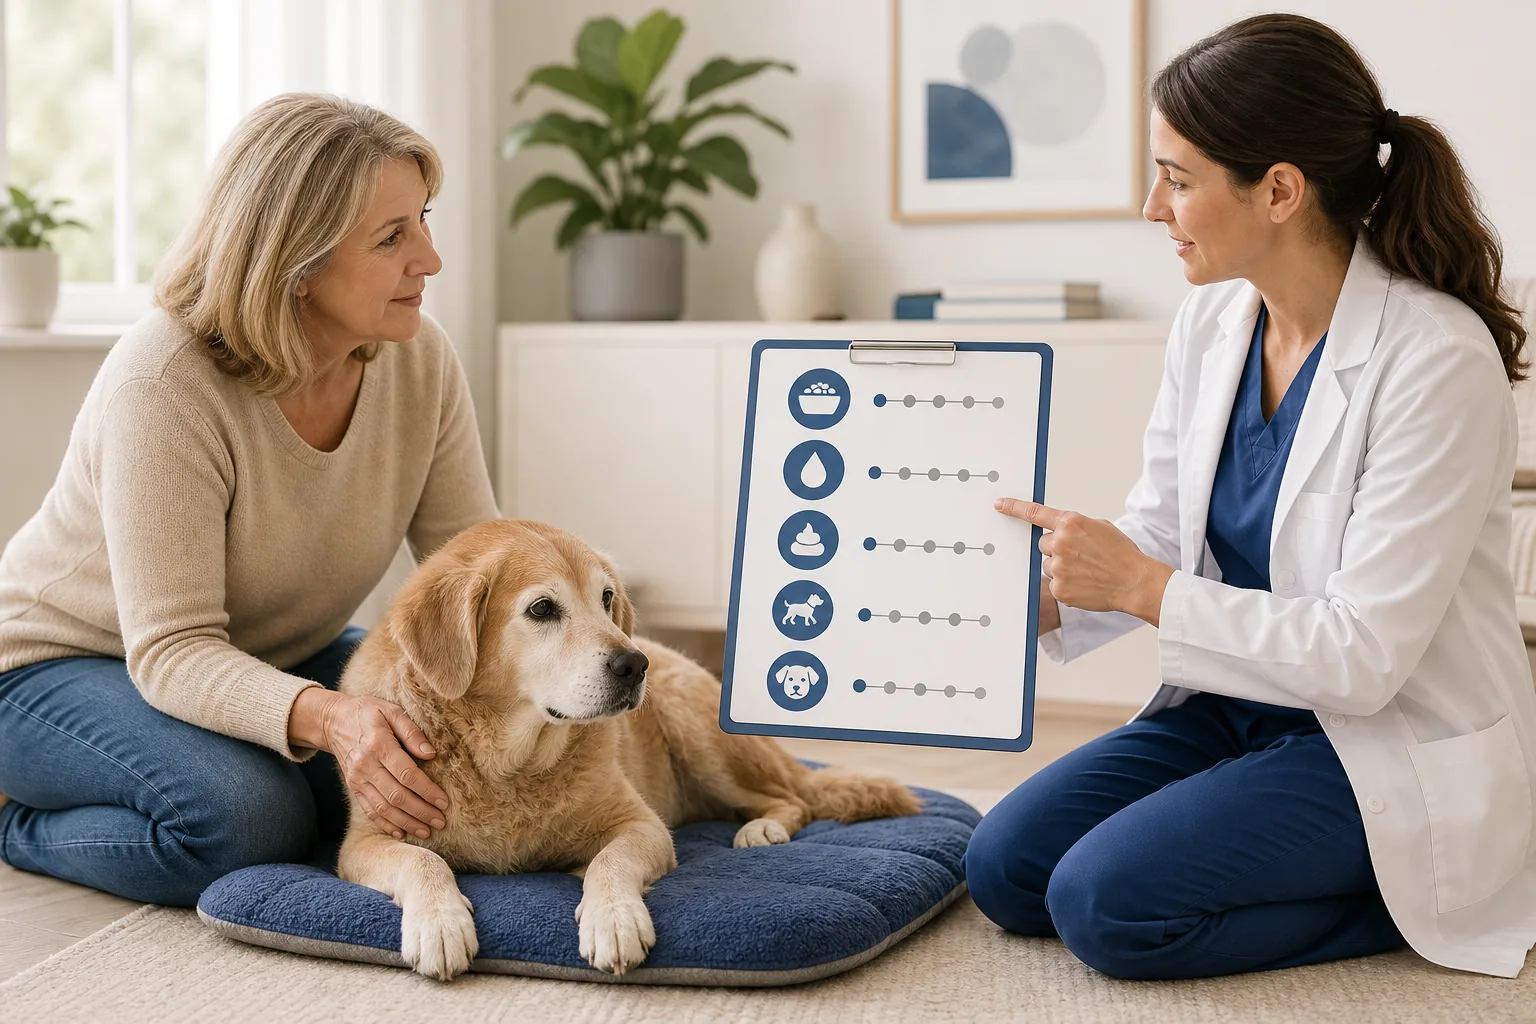
    Record activity type, duration, pace, gait, breathing, enthusiasm, and recovery time rather than only distance. Stop while the dog is still comfortable. Compare function at the same time of day and relative to treatment. Share videos of gait or transfers when safe and useful.

    When to call or escalate

    Collapse, fainting, breathing difficulty, pale gums, sudden weakness, severe pain, new neurologic change, or inability to rise needs prompt assessment. A steadily longer recovery, falling, refusal of previously valued activity, or major day-to-day decline also warrants earlier review.

    What not to improvise

    Do not use forced stairs, treadmill work, swimming, resistance, or heat without clearance. Do not increase activity simply because analgesia masks pain. Rest alone is not always the answer either; prolonged inactivity can worsen function. The plan should be adjusted with veterinary and rehabilitation guidance.

    Use recovery as the pacing signal

    Choose one familiar activity and record the dog before, during, and after it. Note willingness to begin, gait and breathing while moving, and how long it takes to settle comfortably and return to the prior level of interaction. When recovery becomes slower or the next valued activity is lost, the same workload may no longer be appropriate even if the dog completed it.

    Plan small opportunities around the dog’s more alert periods rather than saving all activity for one ambitious outing. A sniffing break, supported trip outside, or change of resting location may provide engagement without demanding sustained exertion. On treatment and recheck days, expect the schedule to need revision. The log should help the veterinarian or rehabilitation professional connect fatigue with pain, intake, medication, blood counts, or cardiopulmonary signs and adjust the plan accordingly. Keep rest quality in the same entry; pacing should support recovery, not merely reduce the recorded distance.

    Take these questions to the care team

    • Which medical cause of fatigue is most likely?
    • What activity is safely cleared?
    • How long should recovery take?
    • What trend means the plan is too hard?
    • When should rehabilitation reassess function?

    Medical disclaimer: This article is educational and cannot diagnose, treat, or determine prognosis for an individual dog. It does not replace an examination or an individualized plan from a licensed veterinarian.
    Sources and further reading

  • A Swollen Limb During Cancer Care: Measure the Change Without Massaging It

    A Swollen Limb During Cancer Care: Measure the Change Without Massaging It

    A limb can look larger because of edema, a focal mass, hematoma, inflammation, fluid leakage, or positioning. The safest home role is to document onset, distribution, pain, heat, color, function, and progression, then contact the care team. Treatment depends on the cause and tissue stability.

    Why this deserves a plan

    Lymphedema techniques are specialized and are not appropriate for every swollen limb. A tumor-weakened bone, fresh incision, infection, clot concern, bleeding tendency, or painful mass can change what pressure and movement are safe. Early assessment also protects skin before leakage or ulceration develops.

    Prepare before the stressful moment

    Ask whether the dog is at known risk after node removal, surgery, radiation, or pelvic or axillary disease. Keep an approved measuring location and method if the team recommends one. Use the same posture and time of day. Photograph the whole limb and a close view without squeezing tissue.

    What to observe and record

    Record where swelling begins and ends, circumference at the marked location, pitting only if the clinician taught you to assess it, temperature difference, color, skin leakage, pain, gait, breathing, and medication timing. Note whether the change is sudden or gradual and whether more than one limb is involved.

    When to call or escalate

    Sudden severe swelling, marked pain, cold or discolored paw, bleeding, fever with illness, breathing difficulty, collapse, or rapid loss of function needs urgent assessment. New skin breakdown, fluid leakage, or progressive swelling deserves prompt contact even when the dog remains bright.

    What not to improvise

    Do not massage, wrap tightly, apply heat, use a compression garment, or increase exercise without clearance. Do not assume all swelling after surgery is normal. Human diuretics or topical products can be harmful and may delay identification of obstruction, infection, or hemorrhage.

    Describe the geography of the swelling

    Instead of reporting only that the limb is “bigger,” note whether the change begins near the toes, surrounds a joint, follows an incision, sits over a known mass, or involves the entire limb. Compare skin color, warmth, comfort, paw placement, and any fluid leakage without pressing repeatedly. This distribution helps the care team decide which causes and examinations need priority.

    If the clinic requests circumference tracking, have staff mark the exact landmark and demonstrate tape placement and limb position. Measurements taken at different locations can create a false trend, while repeated tight handling can hurt fragile tissue. Record the value with time, posture, activity, medication, and a photograph from the same angle. A sudden functional or skin change should prompt contact even if the tape measurement appears similar. Also note whether collars, bandages, or harness straps cross the swollen area during movement or rest.

    Take these questions to the care team

    • What causes must be ruled out first?
    • Is measurement useful and where?
    • Is compression or manual therapy cleared?
    • How should skin be protected?
    • Which change requires emergency care?

    Medical disclaimer: This article is educational and cannot diagnose, treat, or determine prognosis for an individual dog. It does not replace an examination or an individualized plan from a licensed veterinarian.

    Sources and further reading

  • Radiation Treatment Day: What Happens Before, During, and After the Beam

    Radiation Treatment Day: What Happens Before, During, and After the Beam

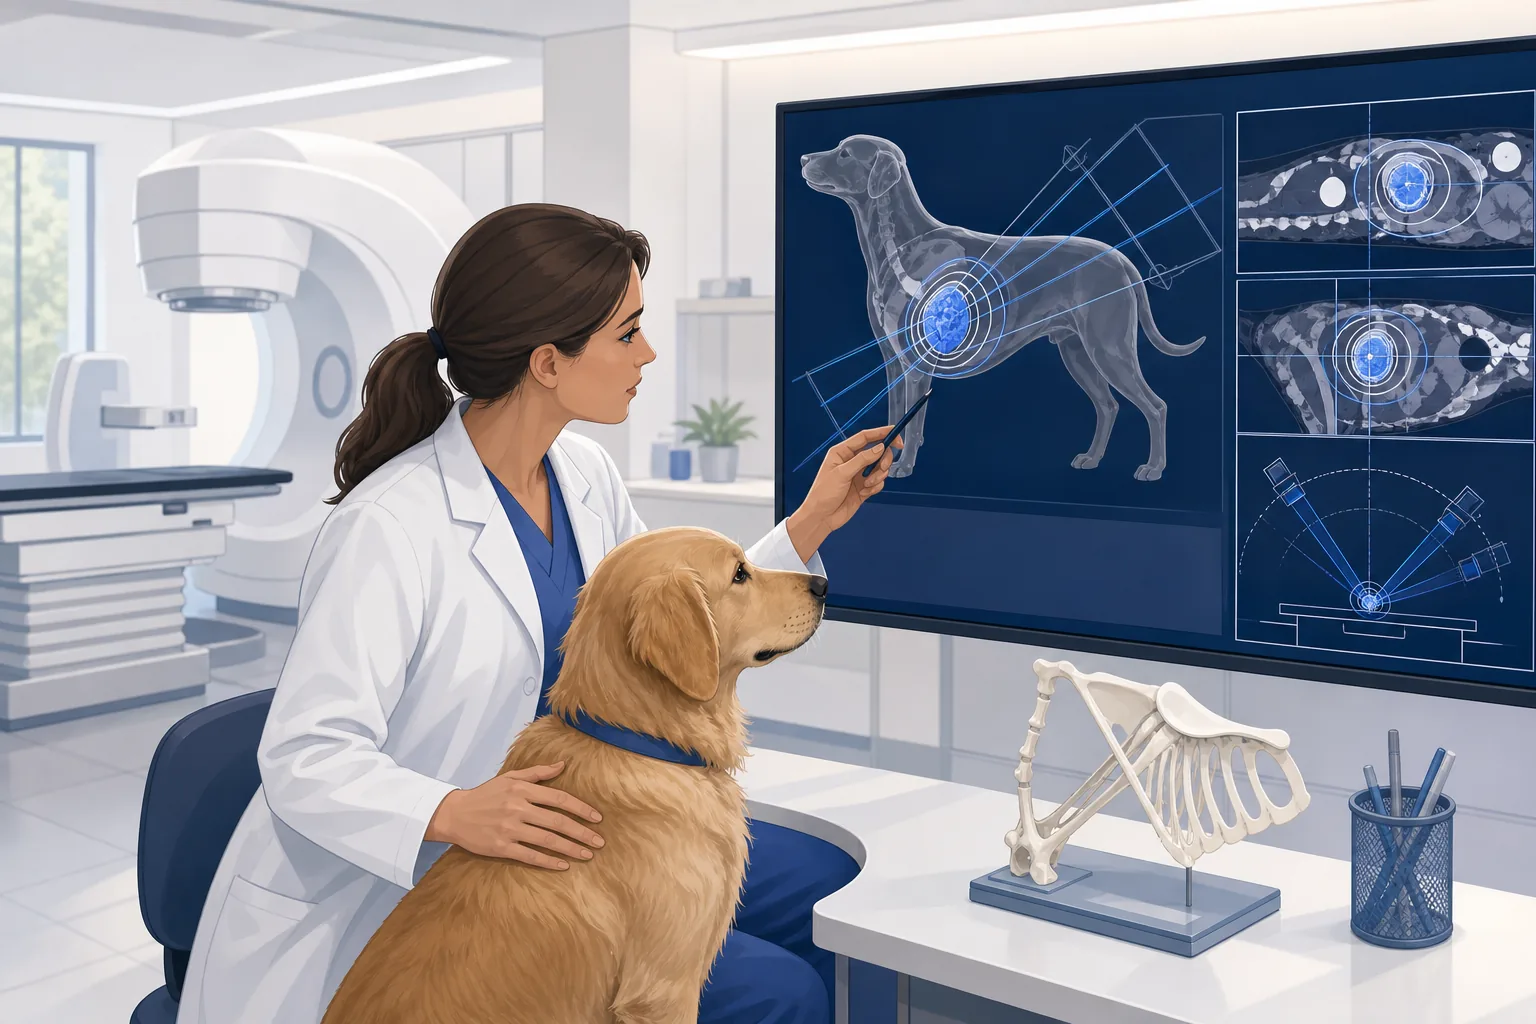
    Families sometimes imagine a dog lying awake for a long treatment. In veterinary radiation, precise immobility commonly requires anesthesia or deep sedation, and much of the appointment is devoted to safe preparation, positioning, verification, and recovery. The exact process differs by center, site, and protocol.

    Why this deserves a plan

    Understanding the workflow helps you ask better questions about fasting, medications, repeated anesthesia, transport, pickup, and delayed effects. It also prevents a technically completed session from being treated as the end of monitoring. Recovery and home observations are part of the treatment day.

    Prepare before the stressful moment

    Follow only the radiation and anesthesia team’s written food, water, and medication instructions. Report cough, vomiting, diarrhea, appetite change, new neurologic signs, prior anesthesia problems, and every medicine or supplement. Confirm whether bloodwork, imaging, or a treatment-plan change affects arrival time.

    What to observe and record

    At intake, repeat the target site and current symptoms. Ask whether image guidance is used and which clinician will provide an update. At pickup, obtain written instructions for food, water, activity, medications, skin or mouth care, expected drowsiness, result timing, and both acute and delayed site-specific effects.

    When to call or escalate

    Breathing difficulty, repeated vomiting, collapse, severe agitation, uncontrolled pain, marked neurologic change, inability to eat or drink, or failure to recover as described needs prompt contact. Radiation reactions may appear after a delay, so keep scheduled checks even when the treatment day seemed uneventful.

    What not to improvise

    Do not apply creams, wash products, heat, ice, or bandages to the treatment field unless instructed. Do not use a generic midnight fasting rule or adjust seizure, steroid, insulin, or pain medicine yourself. Instructions may differ between appointments as the patient changes.

    Keep one timeline across repeated treatment days

    Use a single record for arrival instructions, medicines actually given, anesthesia recovery, food and water after discharge, and any change in the treated area. Repeated appointments can feel identical, yet appetite, bowel signs, skin or mouth comfort, neurologic function, and recovery may evolve. Bringing the prior entry allows the radiation and anesthesia teams to see what changed between sessions rather than evaluating each day in isolation.

    Ask the center to name the body area whose effects should be watched and the expected channel for photographs or updates. Continue only the field care they prescribe; a product that seems gentle can interfere with assessment or irritate treated tissue. If another clinic provides urgent care, tell it that radiation and repeated anesthesia are underway and arrange record transfer back to the treatment center before the next session. Record who issued any revised instruction and replace the earlier version in the household folder before leaving the clinic.

    Take these questions to the care team

    • What anesthesia is expected today?
    • How is position verified?
    • Which effects are early versus delayed?
    • What can touch the treatment field?
    • Who should receive our home update?

    Medical disclaimer: This article is educational and cannot diagnose, treat, or determine prognosis for an individual dog. It does not replace an examination or an individualized plan from a licensed veterinarian.

    Sources and further reading

  • An Ulcerated Tumor at Home: Build a Clean, Calm Wound Routine

    An Ulcerated Tumor at Home: Build a Clean, Calm Wound Routine

    An open tumor can look alarming and may smell, drain, bleed, or stick to bedding. The goal of home care may be comfort and containment rather than closure. Ask the veterinary team to demonstrate each step, because products and dressings that suit ordinary wounds may injure fragile tumor tissue.

    Why this deserves a plan

    Odor and discharge can arise from necrosis as well as infection. Tight dressings can trap moisture or compromise circulation, while repeated scrubbing can trigger pain and bleeding. A plan that names the specific problem avoids changing several products whenever the appearance shifts.

    Prepare before the stressful moment

    Create a washable area with good light, disposable barrier, approved gloves, clinic-selected contact layer and dressing, waste bag, protective collar, and emergency compression supplies if prescribed. Keep children and other animals away. Confirm how to protect surrounding skin and when the wound should remain uncovered.

    What to observe and record

    At each planned change, note pain, bleeding, color, odor, amount and type of drainage, surrounding redness, swelling, heat, licking, and whether the dressing adhered or slipped. Photograph at the interval the clinic requests. Record all topical and systemic medicines and actual change frequency.

    When to call or escalate

    Major bleeding, pale gums, collapse, severe pain, rapidly spreading redness, fever with illness, breathing compromise, or a dressing that impairs circulation needs urgent assessment. Call earlier when odor, drainage, or pain changes substantially, even if the next oncology visit is days away.

    What not to improvise

    Do not scrub, cut tissue, cauterize, use peroxide, alcohol, essential oils, powders, or human antibiotic cream. Do not place adhesive directly on fragile skin or wrap more tightly to stop persistent bleeding. Never allow licking as a method of cleaning.

    Judge the routine by comfort and containment

    An ulcerated mass may not progress like a healing surgical incision, so “better” needs to be defined for that dog. Useful goals can include less adherence to bedding, fewer episodes of licking, manageable drainage, protected surrounding skin, and a dressing change the dog can tolerate. Ask the clinic which observations reflect the tumor itself and which suggest a complication that could change the plan.

    Before each change, arrange supplies in order and decide how the dog will be positioned without pressure on the mass. Note whether the contact layer releases as demonstrated, whether fluid has reached the outer dressing, and whether the skin beside the wound is becoming damp or irritated. If changes are increasingly painful or require more restraint, report that pattern rather than simply working faster. The team may need to reconsider analgesia, dressing materials, frequency, protective equipment, or whether an uncovered approach is more appropriate for the site.

    Take these questions to the care team

    • Is the goal comfort, containment, or healing?
    • What evidence suggests infection?
    • Which dressing and change interval are approved?
    • How do we manage a small versus major bleed?
    • When is home care no longer safe?

    Medical disclaimer: This article is educational and cannot diagnose, treat, or determine prognosis for an individual dog. It does not replace an examination or an individualized plan from a licensed veterinarian.

    Sources and further reading

  • Prepare for a Tumor-Related Bleeding Crisis Before It Happens

    Prepare for a Tumor-Related Bleeding Crisis Before It Happens

    Some vascular, ulcerated, oral, nasal, splenic, liver, or internal tumors can bleed. Not every dog is at equal risk, and many bleeding events cannot be managed at home. Planning does not predict that a crisis will occur; it removes decisions from the most frightening minutes.

    Why this deserves a plan

    Blood can look dramatic, while dangerous internal bleeding may be less visible. Families need to know which finding deserves gentle local pressure and a call, which requires immediate transport, and how pale gums, weakness, abdominal enlargement, breathing change, or collapse alter the response.

    Prepare before the stressful moment

    Ask the clinician where bleeding is most likely and whether local pressure is safe. Identify the nearest open emergency service, route, phone number, vehicle setup, lifting help, and financial or consent decisions. Keep a current medicine and supplement list because anticoagulants, NSAIDs, and some products may affect risk.

    What to observe and record

    Record the site, start time, estimated amount using practical descriptions, whether pressure was applied, gum color, breathing, alertness, abdominal size, and ability to stand. Use only the dressing or pressure technique the team demonstrated. Call while another person prepares transport when signs are severe.

    When to call or escalate

    Collapse, pale or white gums, rapid or difficult breathing, profound weakness, a distended abdomen, uncontrolled external bleeding, repeated swallowing of blood, or rapid deterioration is an emergency. A dog may temporarily appear better after internal bleeding; that does not make waiting safe.

    What not to improvise

    Do not tourniquet a tumor, repeatedly remove a clot to inspect it, pack a nose or mouth, give human clotting products, or administer a supplement as emergency treatment. Do not drive alone with an unstable large dog if safe help is available. Home first aid must not delay transport.

    Rehearse the handoff before transport is urgent

    Place the diagnosis, likely bleeding site, current medicines, agreed treatment limits, and emergency contact on a page that travels with the dog. Decide who calls ahead, who drives, who keeps the dog safely positioned, and who brings records and payment information. If the dog is large or weak, practice the approved lifting or stretcher method while the dog is stable instead of inventing one during collapse.

    Tell the emergency service what can be seen and what cannot: external blood, swallowed blood, sudden weakness, abdominal enlargement, gum color, breathing effort, or loss of responsiveness. Avoid delaying departure to obtain an exact volume. A practical description of soaked materials, recurring flow, and changes in the dog’s condition is more useful than a false measurement. After any smaller episode, ask whether the event changes the expected risk, monitoring plan, or thresholds for future transport; a stopped surface bleed does not answer whether another site is involved.

    Take these questions to the care team

    • Where is bleeding most likely?
    • Is gentle pressure safe at that site?
    • Which signs indicate internal blood loss?
    • Where will we go after hours?
    • What are our care limits if bleeding recurs?

    Medical disclaimer: This article is educational and cannot diagnose, treat, or determine prognosis for an individual dog. It does not replace an examination or an individualized plan from a licensed veterinarian.

    Sources and further reading

  • Make a Breathing-Distress Action Card for a Dog With Cancer

    Make a Breathing-Distress Action Card for a Dog With Cancer

    Breathing difficulty can arise from lung or airway disease, pleural or pericardial fluid, anemia, pain, fever, medication effects, or other emergencies. Dogs in distress can worsen with restraint, heat, excitement, or repeated examination at home. The plan should be simple enough to use under pressure.

    Why this deserves a plan

    Families may spend dangerous minutes counting, filming, searching online, or trying to decide whether the dog is anxious. A veterinarian can help define the dog’s usual resting pattern and the observable changes that mean leave now. Exact numeric thresholds, if used, must come from that patient’s team.

    Prepare before the stressful moment

    Write the emergency hospital, route, phone, parking or arrival instructions, and a second driver or lifting helper. Keep the diagnosis, current medicines, recent imaging, oxygen or sedation history, and agreed care limits accessible. Make the vehicle cool and use the least restrictive safe transport method.

    What to observe and record

    When the dog is comfortable, learn what normal resting breathing looks like. During a change, observe effort, posture, neck extension, abdominal movement, noise, gum color, ability to settle, collapse, cough, and timing. Call ahead briefly, then transport; do not prolong observation to make a perfect video.

    When to call or escalate

    Open-mouth or labored breathing, blue or gray mucous membranes, collapse, inability to rest, severe airway noise, or rapidly worsening effort is an emergency. Pale gums with weakness can also reflect anemia or bleeding. Use the emergency pathway even if the dog improves temporarily during the call.

    What not to improvise

    Do not force food, water, pills, or a muzzle onto a dog struggling to breathe. Do not place the dog in a hot enclosed space or press on the chest or neck. Home oxygen or sedatives require a veterinarian-designed setup and cannot replace emergency evaluation.

    Design the card for the first minute

    The top of the card should state the action, destination, and call-ahead number before any background detail. Beneath that, list the cancer diagnosis, known chest or airway problems, current medicines, recent procedures, and any handling that previously worsened breathing. Add the least stressful way to move the dog and the name of the person who can help lift or drive.

    Use calm periods to learn the dog’s normal posture, sound, effort, and ability to settle, then describe changes with ordinary words. In a crisis, do not turn the card into a home examination checklist. Note the onset and the most obvious change, keep handling minimal, and leave. If the dog seems easier in the cooler vehicle or after excitement falls, continue with the emergency plan unless the receiving veterinary team directs otherwise; temporary improvement does not identify the cause or remove the need for assessment.

    Take these questions to the care team

    • What is this dog’s normal resting pattern?
    • Which change means immediate transport?
    • How should the dog be positioned and moved?
    • What information does the emergency team need?
    • What are our stabilization and care limits?

    Medical disclaimer: This article is educational and cannot diagnose, treat, or determine prognosis for an individual dog. It does not replace an examination or an individualized plan from a licensed veterinarian.

    Sources and further reading

  • Breakthrough Pain: Write the Rescue Plan Before the Bad Night

    Breakthrough Pain: Write the Rescue Plan Before the Bad Night

    Cancer pain can flare despite a regular regimen. Dogs may pant, pace, guard, tremble, withdraw, refuse movement, stop eating, wake repeatedly, or change posture. These signs can also reflect nausea, breathing difficulty, urinary problems, or neurologic disease, so the plan must include both relief and diagnostic boundaries.

    Why this deserves a plan

    Caregivers under stress may repeat a dose too soon, combine prescriptions, add a human pain reliever, or wait because the next appointment is scheduled. A written rescue plan protects the dog and makes it easier to report whether the intervention restored a valued function.

    Prepare before the stressful moment

    Ask the prescriber to list baseline medicines, the exact rescue option if one is appropriate, when it may be used, what must not be combined, and when to call before giving anything. Keep pharmacy access and after-hours options in mind before weekends or travel.

    What to observe and record

    Record the suspected pain site, behavior, activity that became difficult, time, trigger, medicines actually given, and response over the reassessment window supplied by the clinic. Note sedation, wobbliness, vomiting, stool, urination, breathing, and whether the dog can rest, rise, and toilet.

    When to call or escalate

    Severe unrelenting pain, sudden inability to use a limb, suspected fracture, collapse, breathing difficulty, a distended abdomen, inability to urinate, or new neurologic loss requires urgent assessment. Repeated rescue use or shorter relief means the baseline plan needs review.

    What not to improvise

    Do not give ibuprofen, naproxen, acetaminophen, aspirin, another pet’s medicine, or extra steroid or NSAID. Do not force massage, stretching, heat, or walking over a painful tumor or fragile bone. Sedation is not proof that pain is controlled.

    Choose a function that reveals whether relief is meaningful

    Pain notes become more useful when they connect behavior to an ordinary action: settling into sleep, rising without repeated attempts, walking to toilet, lowering the head to eat, or allowing gentle care. Record what the dog could do before the flare, what changed, and whether the prescribed rescue step restored that function. A quieter dog who remains unable to move comfortably may be sedated without having adequate relief.

    Keep a separate line for possible adverse effects such as marked sleepiness, loss of balance, vomiting, agitation, or breathing change. If flares cluster around a particular movement, wound care, trip outside, or time in the medication schedule, share the pattern rather than changing timing yourself. Repeated loss of the same valued function can signal that the baseline plan, environment, mobility support, or disease assessment deserves review. The purpose of the log is to support that reassessment, not to prove that every restless episode was cancer pain.

    Take these questions to the care team

    • How does this dog show pain?
    • What rescue medicine is prescribed?
    • When should it begin helping?
    • Which drugs must not be combined?
    • What sign means emergency care rather than another dose?

    Medical disclaimer: This article is educational and cannot diagnose, treat, or determine prognosis for an individual dog. It does not replace an examination or an individualized plan from a licensed veterinarian.

    Sources and further reading

  • The Overnight Hospice Plan: Prepare for Symptoms When the Regular Clinic Is Closed

    The Overnight Hospice Plan: Prepare for Symptoms When the Regular Clinic Is Closed

    Night can magnify uncertainty. A dog may become restless, painful, breathless, confused, unable to toilet, or unwilling to eat when the usual clinic is closed. Hospice planning should anticipate likely events without suggesting that every crisis can or should be managed at home.

    Why this deserves a plan

    The difference between a manageable symptom and an emergency depends on the dog, disease, available medicines, caregiver skill, and goals. Writing the plan with the veterinarian protects against unsafe dosing, prolonged suffering, and frantic searches for a service that cannot provide the chosen care.

    Prepare before the stressful moment

    Post the primary, hospice, and emergency numbers; confirm hours and whether home visits exist. Keep transport help, carrier or approved harness, records, medicines, payment, and aftercare preferences accessible. Decide who can authorize care and which interventions fit the family’s goals and practical limits.

    What to observe and record

    For each likely symptom, write the early sign, prescribed action, reassessment time, and escalation point. Include pain, breathing, bleeding, seizures, vomiting, agitation, wounds, urination, and mobility only as relevant. Record what happens overnight so the daytime team can revise the plan.

    When to call or escalate

    Uncontrolled pain, severe breathing distress, major bleeding, repeated seizures, collapse, inability to urinate, profound agitation, or rapid decline requires urgent veterinary help. If the agreed home response does not restore comfort in the specified window, escalation is part of hospice care, not a failure.

    What not to improvise

    Do not combine sedatives or pain medicines, use human products, force food or water, or attempt a procedure because travel feels difficult. Do not assume natural death will be peaceful without professional support. A humane euthanasia plan should be available before a crisis becomes unmanageable.

    Check that the nighttime pathway really exists

    Call intended services in advance to confirm their current hours, location, arrival process, and whether they provide the type of care the family expects. A home-visit provider, emergency hospital, and daytime clinic may offer different services. Write those differences on the plan so a caregiver does not discover them while the dog is distressed. Include a backup destination in case staffing, distance, or weather changes access.

    Keep each symptom instruction tied to the veterinarian’s written response and a clear contact point. The page should not become a long catalogue of every possible event. Prioritize the problems already likely for this dog, the signs that mean comfort has not returned, and the decision-maker who can authorize escalation or euthanasia. After a difficult but nonfatal night, send the actual timeline to the hospice or primary team. What happened, which prescribed actions were used, and how long comfort lasted can expose a gap before the next overnight crisis.

    Take these questions to the care team

    • Which crisis is most likely?
    • What prescribed action is safe at home?
    • How soon should comfort return?
    • Where do we go overnight?
    • When would euthanasia prevent further suffering?

    Medical disclaimer: This article is educational and cannot diagnose, treat, or determine prognosis for an individual dog. It does not replace an examination or an individualized plan from a licensed veterinarian.

    Sources and further reading